
Thank you for visiting The Homesteading Cottage. If you subscribe to our blog via RSS feed or email, you'll get helpful tips on simplicity, organization, all things DIY, natural cooking, entertaining, homesteading and emergency preparedness sent straight to you!

Oven baked fries don't seem to have the same crunch that oil frying gives and so french fries have totally dropped off our menu...that is, until now! Recently I noticed several pins floating about here and there regarding the different methods of attaining french fry heaven from the oven. Some were more laborious than others. I'm a simple gal so those in-depth recipe options quickly faded. I finally settled on a combination of Martha Stewart's Italian Fries (minus the cheese and herbs) and several others. Here's my version...
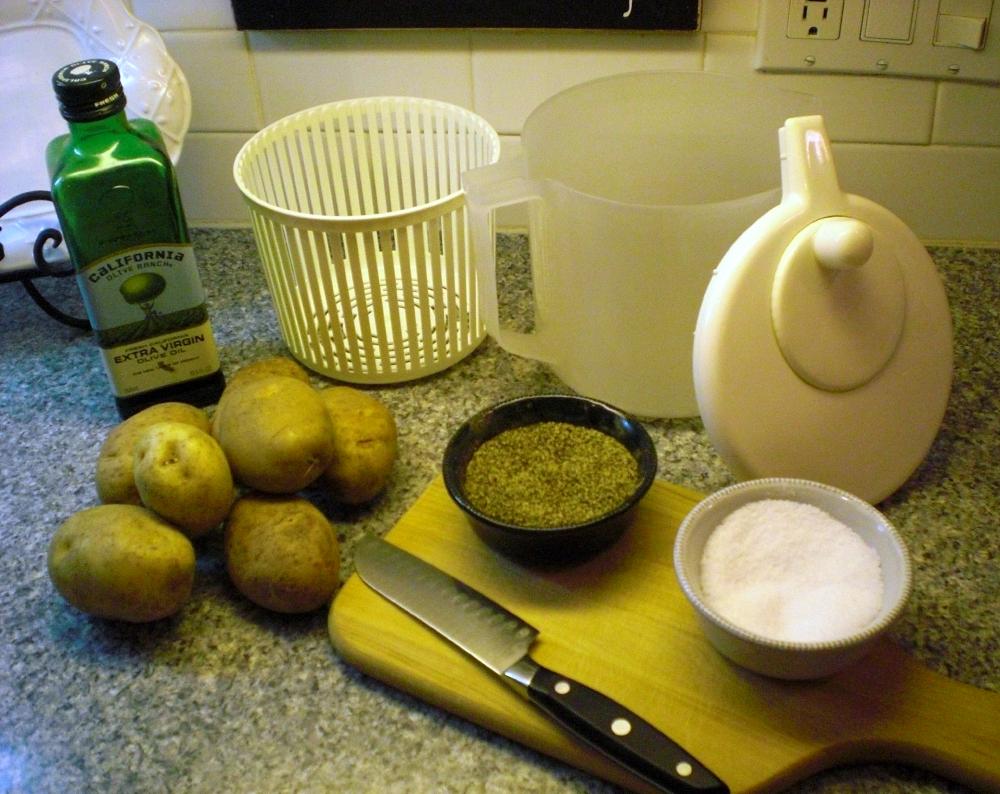
- 5-7 large potatoes
- 2 tablespoons of olive oil
- salt and pepper to taste
1. Wash Potatoes and Cut into Strips.
I tried several versions...some shoe-string thin and then others on the chunkier side. The thin fries cooked faster than their thicker counterparts. A few batches were baked with the skins on and others without. Same results...yummy!

Once cut, place fries in salted water. This is key. Not only does the salty water add flavor, but it brings out the natural sugars in the potato which help them to crisp during baking. The amount of salt depends on you. I prefer not to add salt to my fries once they're cooked, so I use a good bit in the soaking water...maybe 2-3 teaspoons.
TIP: Some people mentioned letting the cut fries soak for at least 30 minutes or more...I think someone even suggested 1-2 hours! Didn't do that...I'm a bit of an impatient cook (; I just added the potatoes to the water as they were cut and then let them sit for maybe another minute or two more before draining. Sometimes I'd let them sit longer if something else needed tending in the kitchen, otherwise a few minutes of soaking was fine.

Once they're done soaking in the salty water, draining and getting the potatoes dry is very important. If water is left behind, the fries will steam instead of crisping. Most people mentioned spreading out paper towels and dumping the drained fries on so they could be patted dry. Um, did that once...took too long, used too many paper towels and I didn't get all the water off. My solution? Instead of wasting paper towels, dump those wet puppies into a salad spinner!! With a few twirls they're bone dry and ready for the next step! Did I mention I'm all about simplicity (;

Since the salad spinner already needs to be washed, dump out the collected water from the bowl, dry it and then pour the fries back in. No need to wash an additional bowl, eh? Add 1-2 tablespoons of olive oil along with your choice of spices to the dry fries and toss until all are coated (turmeric, garlic, onion powder and pepper is our favorite combo). This particular batch had garlic, onion powder, pepper, chili powder, chives and a tad of turmeric. You'll actually be surprised at the small amount of oil needed to get things covered. One tablespoon was enough for us!
TIP: Some recipes suggested sprinkling spices on the fries once they're spread out on the baking sheet...this is fine, but it just means you'll only have spices on one side. I prefer fries to be coated from top to bottom, so I add the spices along with the oil. Easy steps mean added simplicity.

Spread spiced fries out on a baking sheet...it doesn't matter if they're overlapping or slightly piled on each other. I didn't coat our baking sheet with non-sticking spray as suggested since oil is already coating the fries and they were fine. Again, simple gal...the fewer steps the better (;
TIP: A few stuck to the pan, but they lifted right off with a little coaxing. Adding parchment paper to your pan to prevent sticking is an option if you prefer.

Bake at 400° for 30 minutes for shoe-string thin fries or 45 minutes for thicker fries. The time can vary depending on your crisp preference, so just keep an eye out at the 30 minute mark. Once the ends begin to turn golden brown, you'll know they're ready!
TIP: The recipe websites I visited suggested rotating the pan after 30 minutes, but we didn't and they were just fine. We "flipped" the fries with our first few batches...basically that means scooping the fries off the pan and tossing them back on. If the fries seemed done, we'd go ahead and eat. If they needed more cooking (just for the thicker fries), then we'd pop the "flipped fries" back in the oven for a few more minutes.
We've baked fries using this recipe over and over again and they seem to get better with each batch! Add cheese and different spices for a new twist every time. Here are some of our favorite flavor combinations...
- turmeric, garlic, pepper and onion powder
- paprika, turmeric, cumin, pepper and cayenne
- oregano, thyme, marjoram, basil and parmigiano reggiano cheese
- chili powder, onion powder, garlic and romano cheese
We love making these over and over and hope you do too. You'll never want to eat greasy fried sticks again when you can bake healthy, crispy goodies!! Have you tried oven baked fries? What were your results? We'd love to know any tips you've learned along the way...
With Gratitude,

New to The Homesteading Cottage? Don't miss a post and subscribe here...